
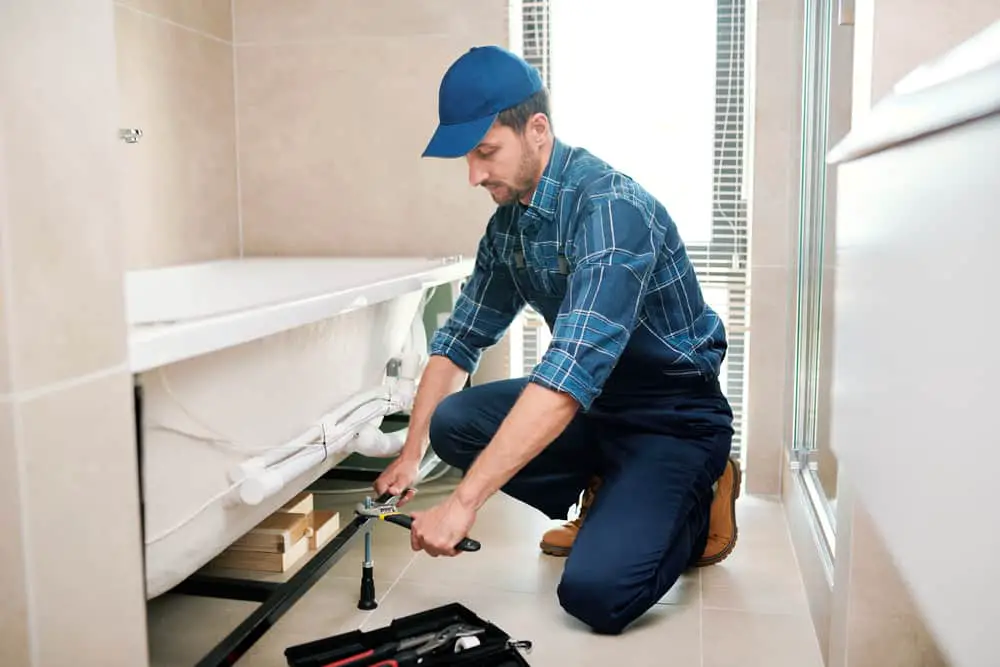
A bathtub installation is not a simple DIY project you can handle individually.
You need to hire an expert to help you through or engage a friend to help you correctly place the bathtub.
While installing a new bathtub, it is important to ensure that it is well-situated to stay functional for a long time.
But, Does The Bathtub Need To Be Perfectly Level?
Yes, the bathtub has to be perfectly level to such that water remains in the tub when it’s full. A level bathtub is also comfortable because it does not move or sway as you move your weight inside the tub.
Depending on the size of the tub, you can either use a mortar or shims to level it. Ideally, large tubs level in mortar, while most standard tubs level with shims.
If you are planning to have a bathtub installed, here is a guide to install and level a bathtub on either shims or mortar.
See Also: Can You Replace A Bathtub In A Mobile Home?
Guide to Installing A Perfectly Level Bathtub
When setting up a new bathtub, it is always easy to start by installing the taps, overflow pipes, and waste pipe before you place the tub in the right place.
After everything is set and well-fitted, you can then go on and place the tab on the floor space, ensuring that it is perfectly level.
Here are the steps to install a bathtub
1. Position The bath Straight Upwards
With a lot of care, put the bathtub on one end vertically against a wall or support it at the center of the bathroom so you can have a simple time fitting and dress it.
This step is vital as it helps you ensure that everything is placed in its right.
2. Fit In And Tighten The Taps
At the lower part of the taps, you will get a washer made of rubber or fiber for the most expensive taps.
If the tap is packed with a manual, follow the steps in that manual to see how you will handle the taps.
If you no longer possess the manual, don’t worry about it.
The taps can be fit in very easily. You will feed the pipes in the tap holes, ensuring the washer forms an excellent sealant to prevent water leakages.
After the taps are perfectly fit, attach nuts at the back and use your hand to tighten them. You can then take a spanner and tighten the ends.
3. Fit The Waste Pipe
Check to ensure that the washer is in the proper position and that the overflow pipe points on the back side of the bath.
If they are positioned correctly, place the plug hole on the inner part of the bath and use a screw to tighten it.
When the plug is correctly secured, leave the washer to move and then tighten it using a screwdriver.
When tightening:
- Ensure the tub is centralized so it does not move.
- Do not overtighten the nut because the bolt and nut are plastic.
4. Fix The Overflow
Usually, this overflow has three different parts.
The plastic goes on the outer side while the metallic part goes inside the bathtub.
Join the two pipes and use your hands to tighten them before you engage a screwdriver.
The third pipe is the Flexi pipe, which connects the overflow to the waste line in the lower part of the bathtub.
5. Attach And Tighten Tap Connectors
With the bathtub still in the upright position, add tap connectors.
Even though you can add them later, doing it when the tub is still standing is much easier.
Use a spanner to tighten the tap connectors and make them appear nice. A spanner also helps tighten the grip and ensures the two are correctly joined.
6. Fix The Bath Trap
Check to ensure the washer is rightly positioned. If not, align it up with the trap before you engage your hands to tighten.
Ensure the threads do not get cross against each other. It is common knowledge to know that when the threads get crossed, there will be leakages when you open the taps.
Fitting And Leveling The Bathtub
After you have prepared the tub, it is ready for installation.
One thing you must remember in this process is that the tub must be perfectly level.
Here are the steps to help you level the tub on a mortar or shims.
Leveling On A Mortar
Use mortar on large tubs, and have no decorative legs.
- First, take the measurements of the tub’s legs. Also, measure the distance between the base and the bottom flanges. The mortar method is best for large tubs that have no decorative legs. They are decorative because if you level on a mortar, they become unfunctional and buried in it.
- Take measurements of the base and trace an outline on the floor space where you want the bath to sit.
- Mix the thin mortar with water and allow it to the Ken. Use a trowel to spread the mortar in the space you had marked. Keep spreading and adding the mortar until it gets one inch than the size of the flanges from the bottom side.
- Position the tub on top of the mortar and push it down gently until the side flanges get to the floor.
- Add a level on the side parts by pushing it on one side to get in the right position. You may also have to push one side downwards. All this is done to ensure that the tub is level as expected.
- The mortar squeezed from under the tub should now be wiped away using a trowel if it is in large amounts. However, if it is only in small amounts, a damp piece of rag can clean it.
- Clean the tub and floor outside, so you do not have to scrape dried mortar.
- Let the mortar dry by itself for at least 24 hours before you start using it.
Using Shims
Shims are mainly used for small or standard-size tubs
- Set the tub on the floor space and level on one of the long sides. Ask your handyman to help you lift the tub as you place shims under the legs or at the point where the bases touch the ground.
- Always use hardwood or metal shims. They are stronger than softwood and plastic shims, which compress after some time.
- Lower the bath and check if it is level on that side. If not, add shims to get to the level you desire.
- Repeat the process on the remaining sides.
- Test each side to ensure it is level.
- Lift the tub again to create space where you can caulk silicone and secure the shims in a steady place.
- Use a utility knife to cut the end of the tube caulk and squeeze it on the bottom part of the shim, ensuring it is fully covered.
- Press down the shim and let some caulk sleep out of the edges.
- Repeat the process on the other shims, and then cover the top of the shim with caulk before you lower the bathtub in place. Test the level and ensure it is as you want it to be.
- Allow the caulk to dry for 24 hours
Conclusion
A level bathtub is more comfortable and gives you the courage to move your body weight confidently as you enjoy the shower.
You don’t want to have water pour off the bathtub as it sways when you move.
Always be careful when installing a bathtub or hire a technician to do the work.
Remember to wait until the caulk or mortar dries up before you step into the bathtub.
Sources
https://homeguides.sfgate.com/level-new-bathtub-30769.html
https://www.ableskills.co.uk/blog/tutorials/dressing-fitting-levelling-a-bath/