
Water damage can be devastating.
While most homeowners understand the need to caulk long seams in their bathrooms, many overlook caulking smaller seams like those around bathroom fixtures.
In this regard, Do You Need To Caulk Around Shower Fixtures?
Yes, caulking around your shower fixture is necessary and helps prevent leaks. Otherwise, although less likely, water can get behind the shower and seep into the walls through the joint. Over time, this can result in molding, rotting, and other issues that can compromise the structural integrity of your home. Caulking around your shower fixture seals the joint, which prevents moisture from penetrating its underside.
See Also: Is It Better to Caulk or Grout Around the Tub?
Three Reasons Why Shower Fixtures Need Caulking
When it comes to preventing water damage, caulking around your shower fixtures can help prevent water from seeping into the walls or ceiling.
Besides saving your wall from water damage, caulking saves the fixture from the rust.
Here are 3 reasons why you should caulk a shower fixture:
1. Reduces Corrosion And Leakage
Caulking the shower fixture creates a waterproof seal that prevents leaks.
By preventing water from seeping underneath the shower faucet, the caulk prevents corrosion.
This can go a long way to ensuring the longevity of your shower faucet.
2. Prevents Mold Growth
If you do not apply caulk around your shower fixture, water can get inside the wall through the gap between the shower head and plasterboard, dampening the wall.
Eventually, mold and mildew will start to grow on the dump wall as well as under the escutcheon plates.
Mold growth can cause odor and cleanliness problems, which can be a health risk, especially for allergic people. Caulking will project against all these.
3. Preserves The Fixture
Even for all its benefits, water can be disastrous.
Caulking helps preserve the better looks of your shower fixture, which can go a long way to ensuring your bathroom remains cleaner and newer.
See Also: Should Your Apply Caulk To The Light Switches?
How to Caulk Around Shower Fixtures
Caulking around the shower fixture protects the wall and the fixture from getting damaged, particularly by mold and rust. That’s why it is crucial to seal that joint.
When it comes to caulking seams and joints in the bathroom, a silicone-based caulk is recommended because it works perfectly in wet environments.
Whether you are using caulk for the first time or are an experienced caulker, knowing how to caulk around shower fixtures correctly can save you a headache when waterproofing your bathroom.
Here are steps to caulk around shower fixtures:
Step 1: Clean The Surfaces
Caulk sticks better on clean surfaces, so you want to ensure the walls and other surfaces are clean before applying the sealant.
If you are replacing an old caulk, you also need to clean the surface after removing the old caulk.
Step 2: Tape The Area
Caulking can get messy, especially when working on heights.
To avoid mess and unnecessary cleanup, use painter’s tape around and on the fixture (or escutcheon), leaving a small gap where you will apply the caulk.
The tape keeps the surrounding areas clean and ensures a smooth, clean line after caulking.
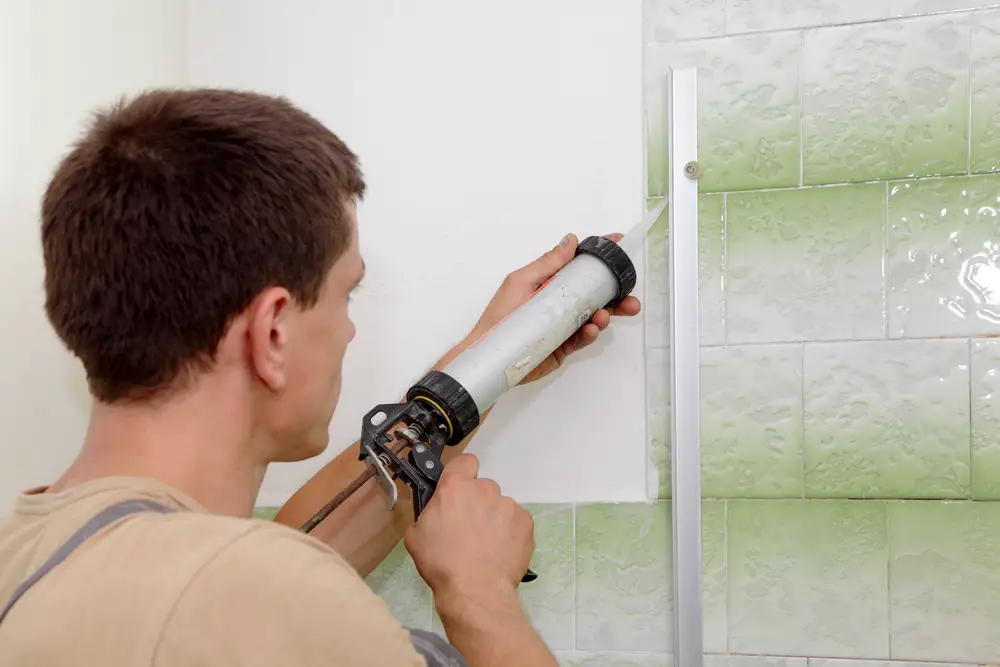
Step 3: Get The Caulk Gun Ready
The secret to proper caulking is cutting the appropriate opening on the caulk tube’s tip.
A smooth cut offers a good caulk bead and ensures you apply the sealant without any mistakes.
See Also: Should The Shower Head Be Centered With The Drain?
Step 4: Apply The Caulk
Place the tip against the joint and slowly squeeze out the sealant, then move it all the way around the fixture.
Next, dip your index finger in water and run it over the caulk you have just applied. This will give a thin, tidy bead that covers the trim completely.
Although the shower faucet is not usually prone to much water intrusion, you want to prevent even the most minor leaks.
Step 5: Wipe Away The Excess
Immediately after smoothing your caulk, wipe away the excess to leave a desirable bead, but one that covers the gap around the trim.
While some homeowners prefer a fairly thick bead, small, thin beads look better. Whatever your preference, ensure that there are no gaps left unsealed.
Step 6: Remove The Tape And Let The Caulk Dry
Before the sealant dries, remove the painter’s tape, then let the caulk dry.
At the bare minimum, you need to allow the applied caulk 24 hours to dry before you can use your shower.
It is also imperative to keep an eye on your shower fixture for potential leaks.
If you notice a leak before your caulk dries or shortly after the application, remove the caulk and repeat the application.
Sources
https://theswifthome.com/should-i-caulk-around-shower-escutcheon/
https://www.hunker.com/13417770/should-you-caulk-around-bathtub-faucets