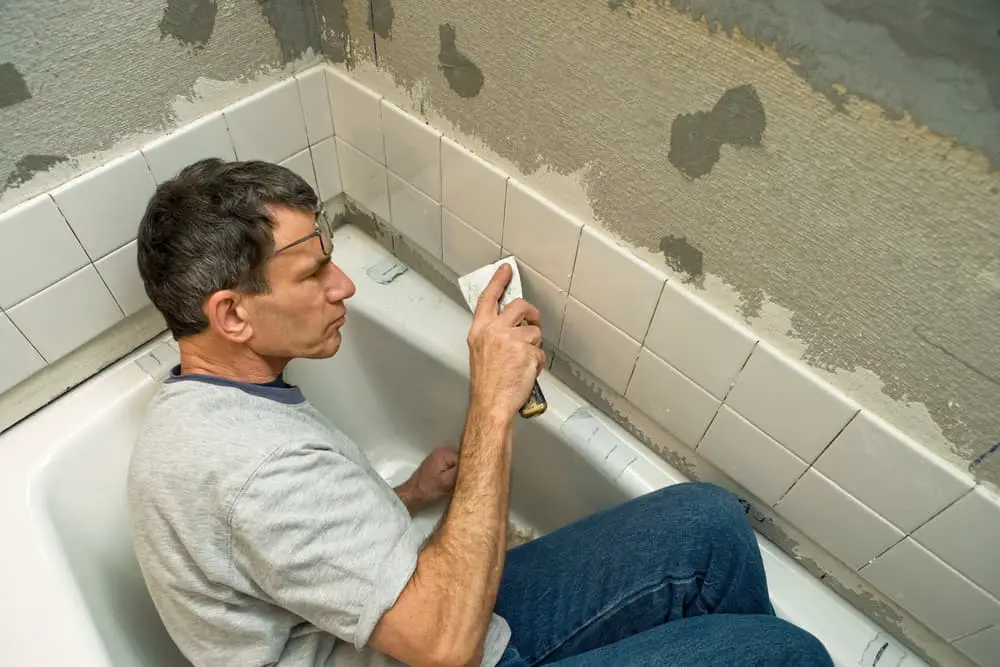
Many still do not understand that grout and caulk are two different substances.
Many folks only know that they are used to strengthening furniture joining parts.
Well, it turns out that people still have problems handling them, especially when using them for bathtub maintenance.
So, Is It Better to Caulk or Grout Around the Tub?
You can use both materials to remodel your bathtub. How to use them and the procedures may be a little different. You can use caulk over the grout to guarantee strength. However, there are instances where grout works better than caulk.
What Are the Differences Between Grout and Caulk?
Grout
Grout is an ideal material to use between tiles.
Depending on the tiles fitted in place, they can be tinted in many colors.
Grout is an important material that helps to keep bar water from penetrating the building and reaching the house’s foundation.
One problem with using grout is that it can crack with movement. Besides, it may become dirty and discolored after many years of use.
Caulk
Conversely, caulk is a latex-based, silicon, or acrylic, waterproof, flexible material used to fit tiles and other construction materials.
See Also: Should The Shower Fixtures Be Caulked?
It is often used to fill gaps that might allow water into the building’s structures, furniture, and other parts.
It is preferred to grout owing to its pliable nature and the fact that it adheres to a wide variety of materials.
It can be used on joints of furniture, corners, and other materials where there is a need to seal air or water leaks.
So, if you have noticed any damage to drains, bathtubs, bathroom fixtures, or pipes, caulk would be an ideal material to fix them. You can also use it to waterproof windows and doors.
Can You Use Caulk Over Grout?
If you have already done the grouting on your tub, you could ask yourself whether it is a good idea to caulk over it.
Caulk is usually applied to the bathtub where it meets the tiles.
You will need to caulk all around the perimeter of the tub.
If water finds its way into the joints between the tub and the tiles, it can ruin the bathroom and, in fact, the entire building.
Caulking will help you avoid this by sealing off air and water leaks.
In these places, you may find yourself applying caulk over the grout.
It would not be prudent to apply caulk over cracked grout.
Ensure the grout is in proper condition before applying caulk over it. Any cracks can be compromised with the structure of the bathroom.
Cracks in grout can turn into ideal breeding spots for molds.
Molds cause your caulk to deteriorate over time.
Next, it will dry out and lose its ability to create a formidable seal.
Eventually, this mold can get behind the caulk and spread to the walls.
The damage is colossal. You need to avoid this by making sure that there are no cracks in the grout.
Solution
If your tiles or tub develop mold, replace them.
The same applies if they start aging. Be keen enough to realize any of these flaws and aging signs.
The curling of caulk over grout is a major sign of aging. It indicates that it is getting old and weaker when it turns brown.
An early and thorough replacement will help keep your tub firmly in place and safe from water damage.
How Can You Replace Caulk Over Tubs and Grout?
1. Remove The Existing Caulk
Use a plastic razor to peel out the existing caulk.
Usually, a triangular carbide grout removal tool is used to remove the grout and caulk safely.
Use a blue painter’s tape to ensure accuracy. This will help protect the tub’s surface from scratches and consequent damage.
2. For, Silicone Made Caulk, Cut Directly Into The Center
If you bump into a problem removing the existing caulk, cut directly into the center of the caulk and down to the edges.
This will ensure that no scratches develop later on.
3. Use A Razor Blade to Cut Stubborn Caulk
If caulk does not come out, cut each side with a sharp razor blade. Once you cut it, pull it out until all the caulk has been removed.
4. Remove the Remaining Residue Using a Non-Abrasive Dry Pad
Once all the caulk or grout is removed, use a damp cloth or rag to wipe out any residue.
You want to ensure that the spot removes all caulk and grout before you mob the place.
5. Remove Any Remaining Painter’s Tape
Clear the area of any remaining residues. This includes remnants of painter’s tape.
6. Scrub The Grout Out Of The Point Using A Toothbrush
Dip a toothbrush in bleach and use it to scrub out the spots. This is the last step in making sure that it is sparkling clean.
7. Fix The Grout Or Caulk
Your spot is now clean.
It is time to fix the new grout around the bathtub.
Make sure that your caulking materials are mixed in appropriate proportions.
If you encounter problems mixing caulk or grout, it is only wise to seek help from qualified professionals.
You may have to spend more, but it is worth it. A professional will help you fix everything in place and ensure that all leaks are sealed.
Wrapping It Up
Both grout and caulk are indispensable building materials that can be used to seal cracks and air spaces on tiles.
To fix leaks near and around your tub, follow appropriate procedures as laid down in this article.
Protect your tub by executing a proper replacement of old caulk or grout.

