
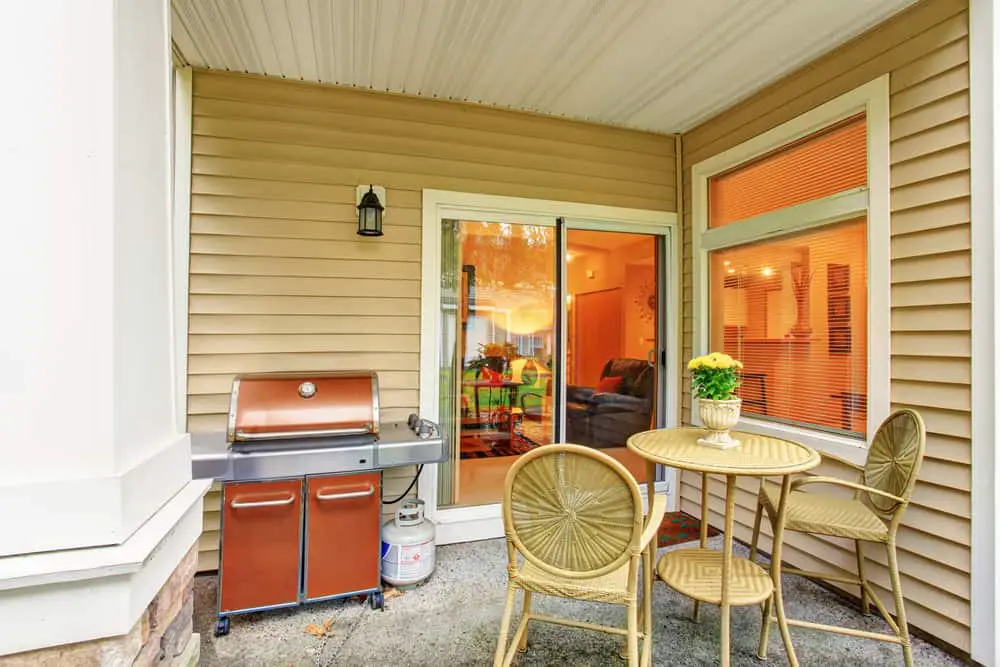
Sliding glass doors are aesthetically pleasing as they allow more light inside the house.
While upgrading your mobile home, there are many things you will replace with new ones, and some you will just improve their state and appearance.
A sliding glass door is one of the things you may think of adding to your home.
However, before commencing the actual home improvement activities, you will need to be sure that whatever you are planning is correct and acceptable to your area housing management.
See Also: Can You Expand A Mobile Home?
In this regard, Can You Add A Sliding Patio Door To A Mobile Home?
Well, you can add a sliding glass door to a manufactured home, but you need to have knowledge of building codes. You will need to be conversant with door removal and replacement tasks to be able to add a glass sliding to your mobile home. If not, it is advisable to contract a building engineer to help you out. Remember, installing a sliding glass door on a mobile home is not a new DIYer’s business.
There are specific steps to be followed when installing a sliding glass door, and skipping, or interchanging steps can lead to a total mess in the entire installation process.
Even though the process may seem complicated for first-time DIYers, it can still be accomplished easily with the steps outlined in this article.
How Do You Install A Mobile Home Sliding Patio Door?
Sliding glass doors are relatively wider than ordinary doors.
This is enough to explain why the doors are priced slightly higher than the other doors.
Considering the high price, most homeowners will prefer to DIY and save some cash that a technician would have otherwise paid.
Here are some of the essential installation tools and steps that you can follow and do a successful and pleasing job on your manufactured home.
Tools Required
- Clamps
- Cordless drills or driver
- A hammer
- A four feet level
- Pry bar
- Table saw
- A miter saw
- 4 in 1 screwdriver
- Finish nail guns
- Reciprocating saw
- Tape measure
- Utility knife.
Materials Needed:
- A new sliding door
- PVC sill pan
- Flexible flashing
- Wood shims
- Silicone caulk
- PVC cement
Eleven Patio Door Installation Steps
Here are a few steps that should be followed strictly if you wish to do perfect door installation work.
1. Measure The Opening Space Before You Purchase A Door
Pry the inner trim and ensure it is free from anything.
Chip out the drywall, exposing the framing, pull the trim off the old door, and measure the distance between the studs and the floor.
Make sure you take accurate measurements for both the height and width.
For the height, you can cut the overhanging drywall and place your tape right to the framing on the jamb and move it to the subfloor.
This will give you accurate height measurements. With accurate open space measurements, select a new sliding glass door that can fit your rough opening space.
2. Remove The Old Door From The Frame
First off, latch the door, unscrew and remove the inside head stop.
Then unlatch the door while tipping the top of the sliding panel inwards, then lift it off the track. You may need help from another person at this step.
3. Remove The Angle Brackets And The Stationary Panel
Using the four-in-one screwdriver, unscrew and remove the angle brackets at the top and lower parts of the stationary panel.
Pry the stationary panel to free off the frame on both the lower and upper parts.
While doing this, make sure you slit out all the caulk and paint using a utility knife to leave the panels clean and non-bumpy.
4. Remove The Old Door From The Frame
Carefully pry off the exterior trim, pick a reciprocating saw with a longer bi-metal blade, and cut between the framing and the door jamb.
You should also cut through the fasteners, insulators, and shims near the door space.
Once you are done cutting and the sideways and top jamb are free, you can now tip the frame from the top side, directing it outside, then remove it carefully.
The threshold is glued to the floor with several sealants in most cases.
Therefore, you will need to apply more energy and pry with a flat bar to free the lower part. After removing the frame, you can cut it into chunks and dispose of it.
5. Apply A Flexible Flashing For Leakproofing
Begin from the bottom side and ensure you apply the flexible flashing directly below the doorsill and up to two inches up on both sides.
A good flexible flashing adheres on the surfaces where it is applied. It is essential to ensure that the flashing laps appropriately over the deck flashing and weather barriers just below the door.
6. Position The Sill Pan
For protection from wet locations and rain splashes, it is wise to add a sill pan on top of the flexible flashing.
First, you will need to clean the joint overlaps using a PVC cleaner before laying down the parts of the sill pan and welding them together with PVC cement.
You can now fill up any voids using a polyurethane caulk, which helps keep out drafts before you proceed to flashing for the new door.
7. Caulk And Install The New Door Frame
While keenly concentrating on the manufacturer’s guidelines, put together all the needed frames in your working space.
Carefully fit the assembled frames in the open space and ensure everything fits in the right place before you apply a silicone caulk along the length of the frames.
8. Fasten The Frame
Center the frame in the open space, take a screwdriver, and screw the frames in the right position.
Check the frames to ensure it is perfectly squared. If not, make the necessary adjustments.
9. Position The Glass Panels And Adjust The Door
Carefully tip the stationary glass panel into the opening, push it against the door frame, and attach angle brackets to support the glass.
Attach the movable glass panel into the right position and screw the inner head stop against the upper door frame.
Slightly open the door and adjust rollers until the gap between the jamb and panel is consistent.
Install the new slider, the handle, and the locking hardware as you finish the task.
10. The Finish On The Inside
Use extension jambs to level the walls before cutting and fitting the top piece.
Install the extension jambs on every side while leaving about ⅛ inches of space between the door and extension jambs.
Add tight fiberglass insulation around the frame and exterior sheath but loosen the insulation near the drywall.
11. Seal Up On The Outside
In most cases, the new door will be smaller than the one you removed and thus will leave more space unfilled.
To fill up this space, you can cut trims that can fill the space while ensuring the new trim is in line with the old trims.
If there are any open spaces, use silicone or acrylic sealant to fill the open spaces.
Use silicone sealant to fill up all open spaces on the outside sidings.
Conclusion
Home improvement is an activity that never ends for most homeowners.
Generally, there is nothing impossible when it comes to mobile home improvements.
Therefore, if you wish to place a sliding glass door in your mobile home, you may consider the steps above and DIY or hire a qualified carpenter to help you out.
Related
Sources
https://www.bobvila.com/posts/18380-install-sliding-door-in-mobile-home